There are 6 collections items in this Briefing.- Darkness III: Diamond District
 
Click on the thumbnail to see the original image. 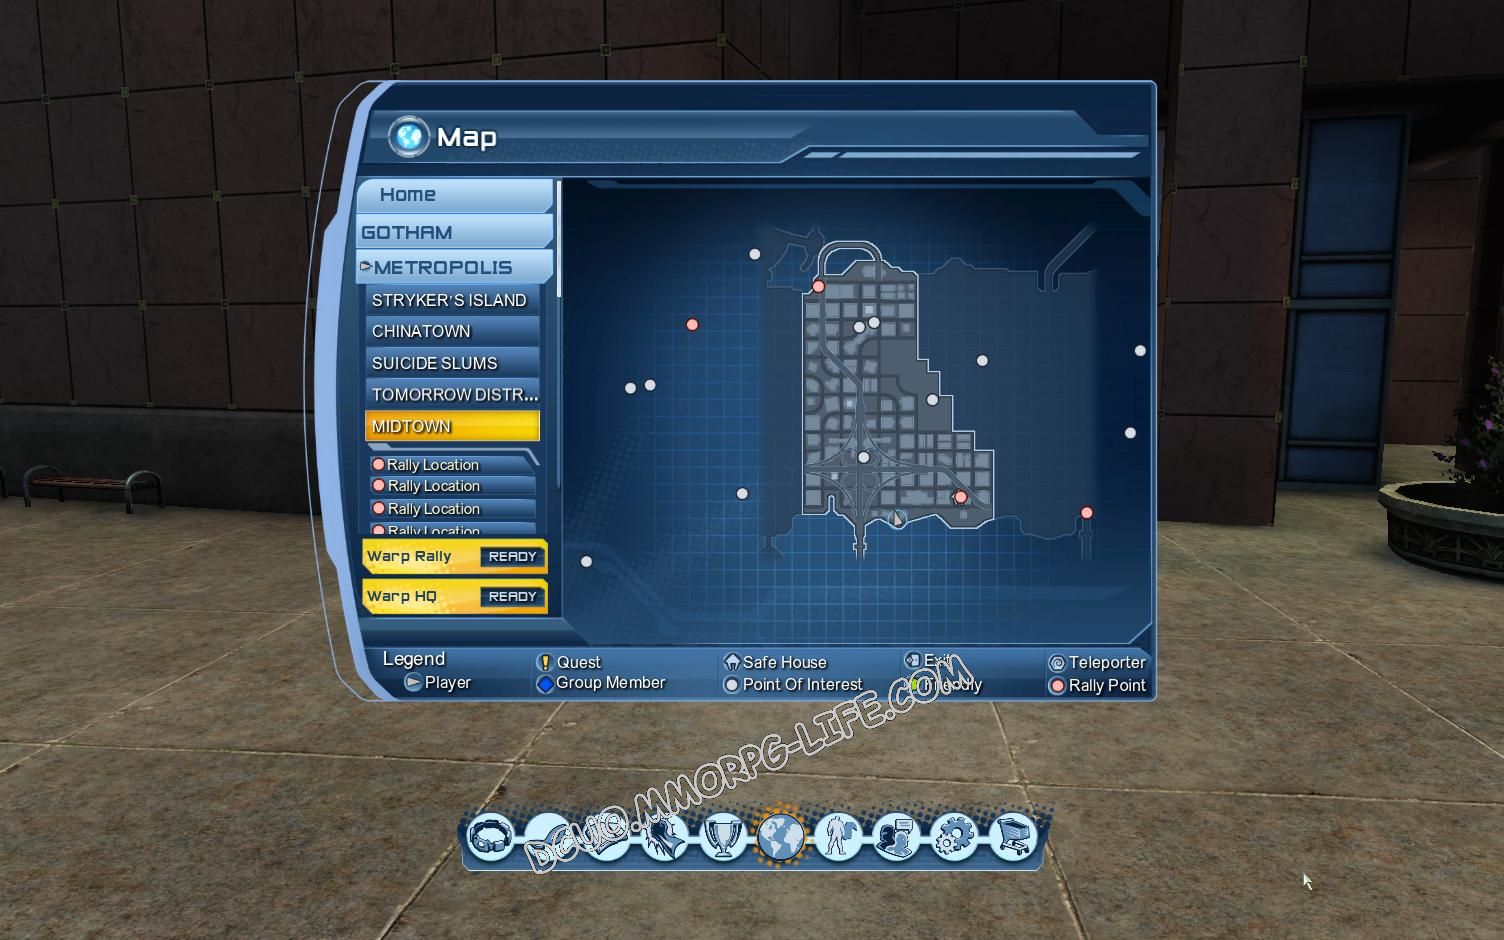
Click on the thumbnail to see the original image. 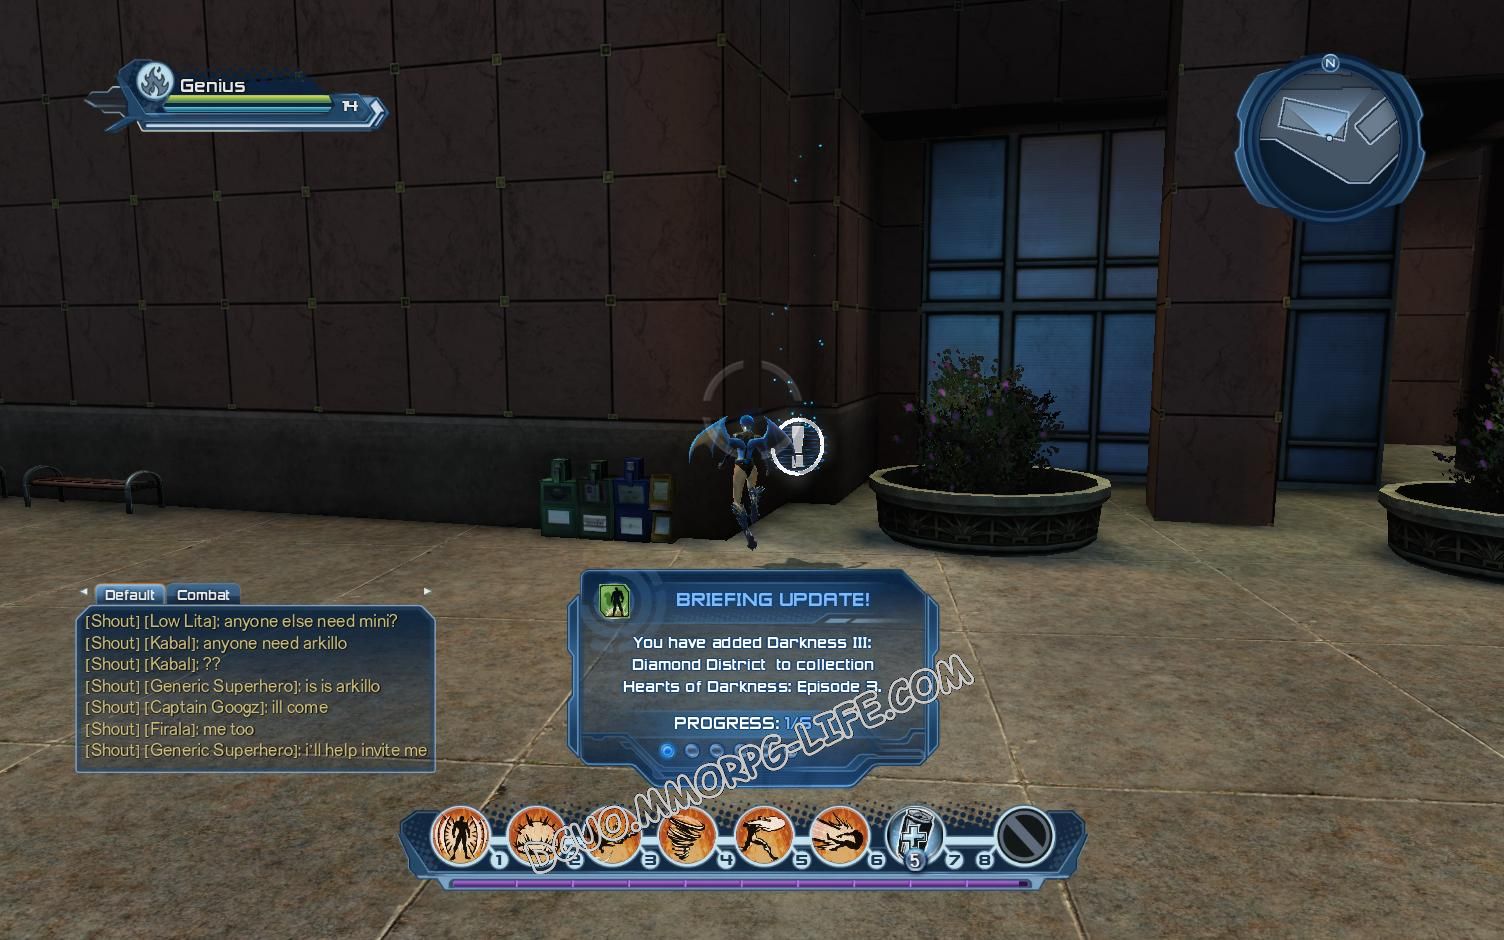
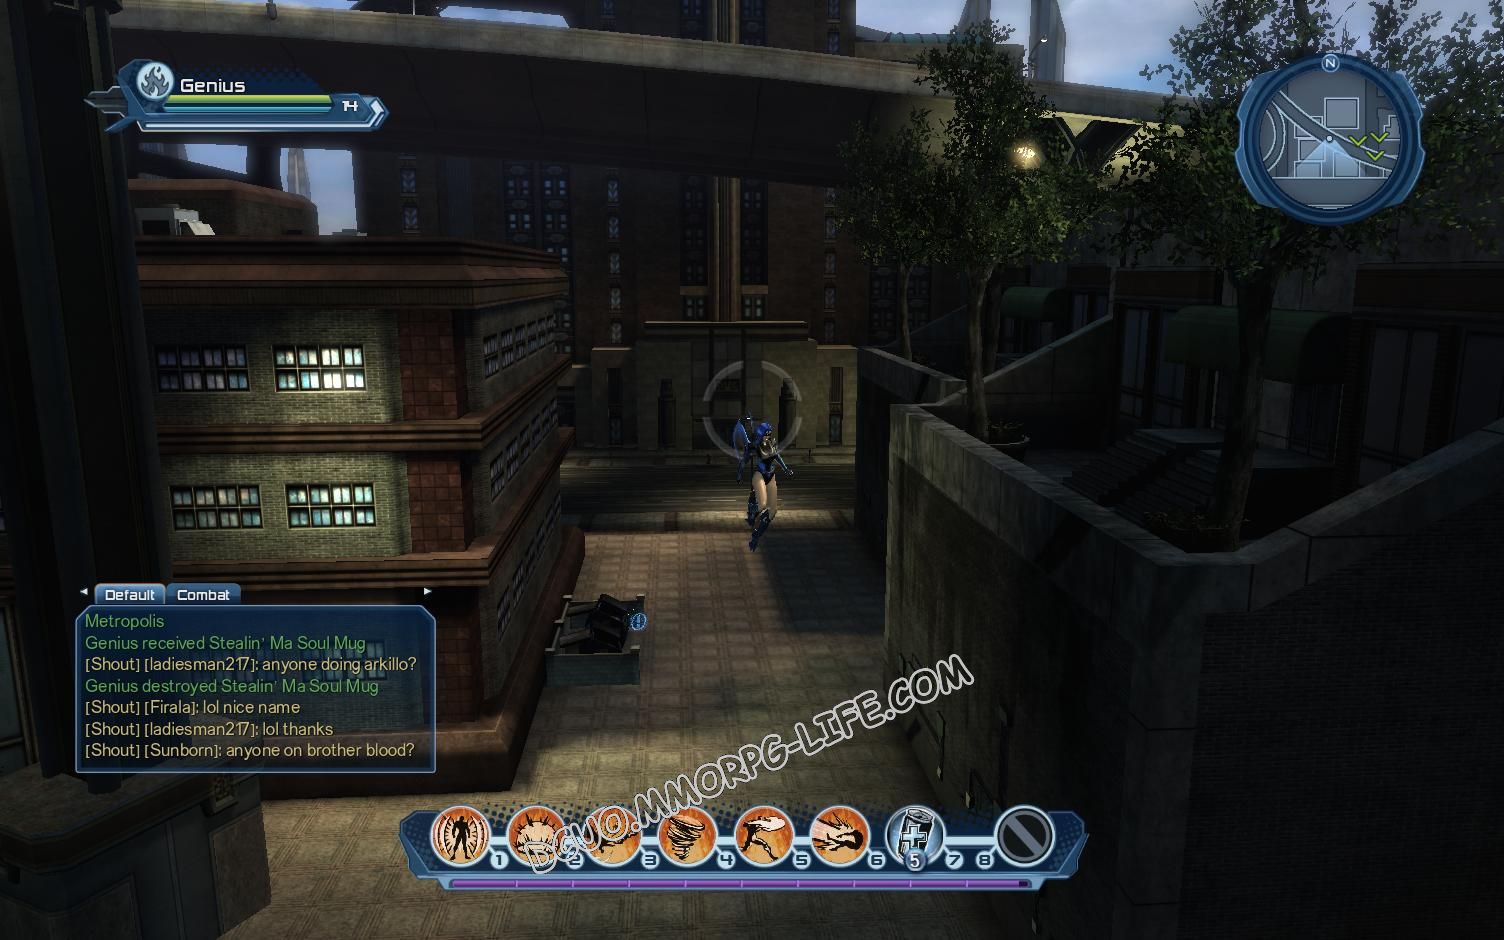
Click on the thumbnail to see the original image. - Darkness III: Jack Ryder
 
Click on the thumbnail to see the original image. 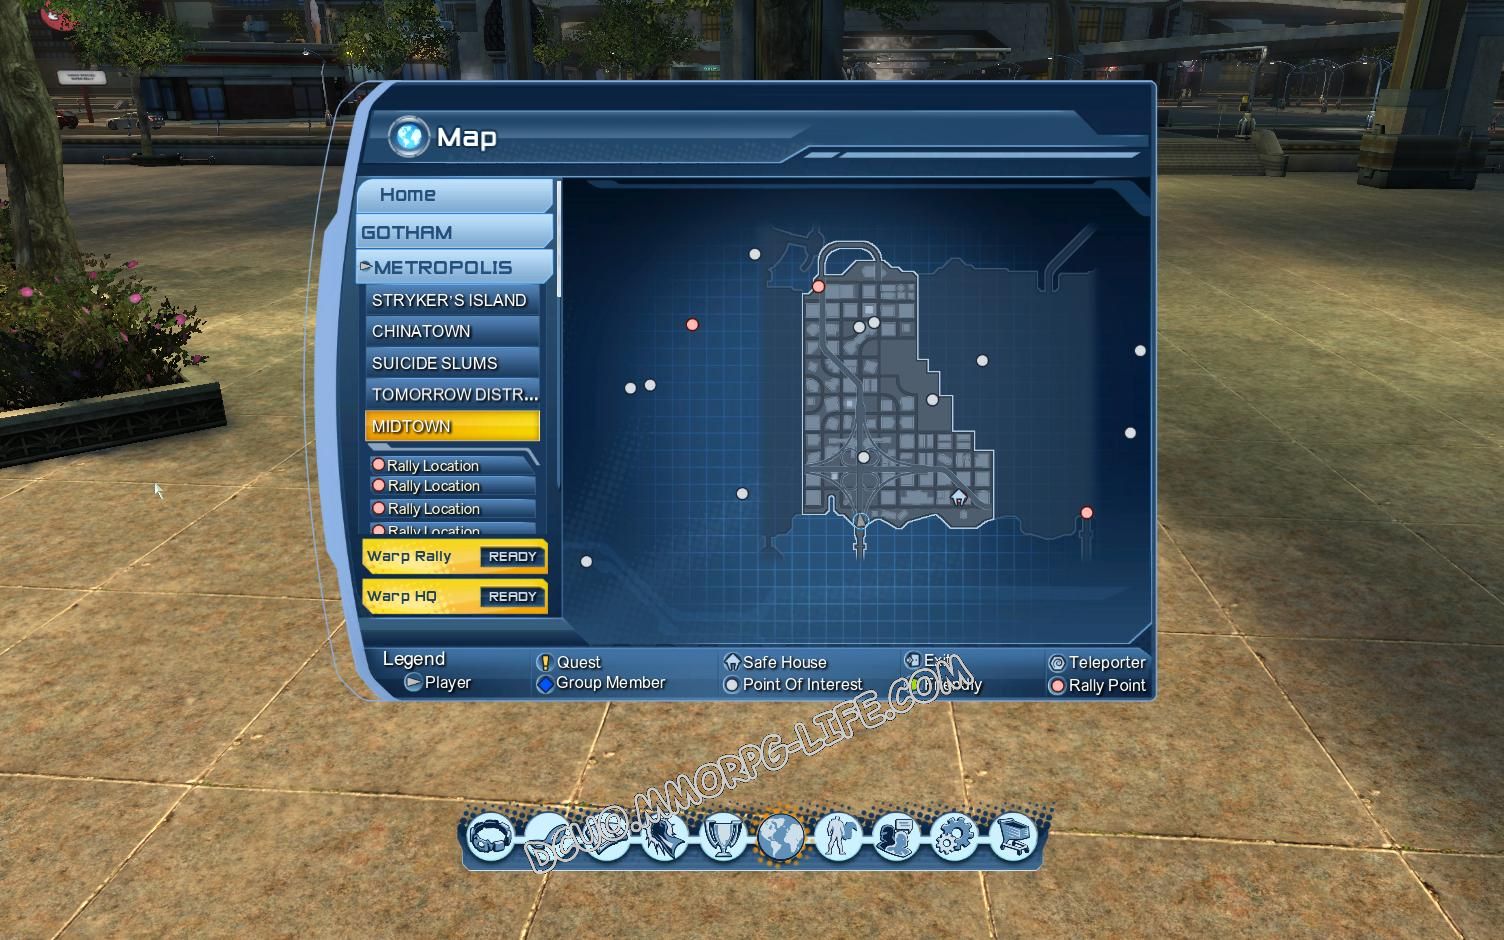
Click on the thumbnail to see the original image. 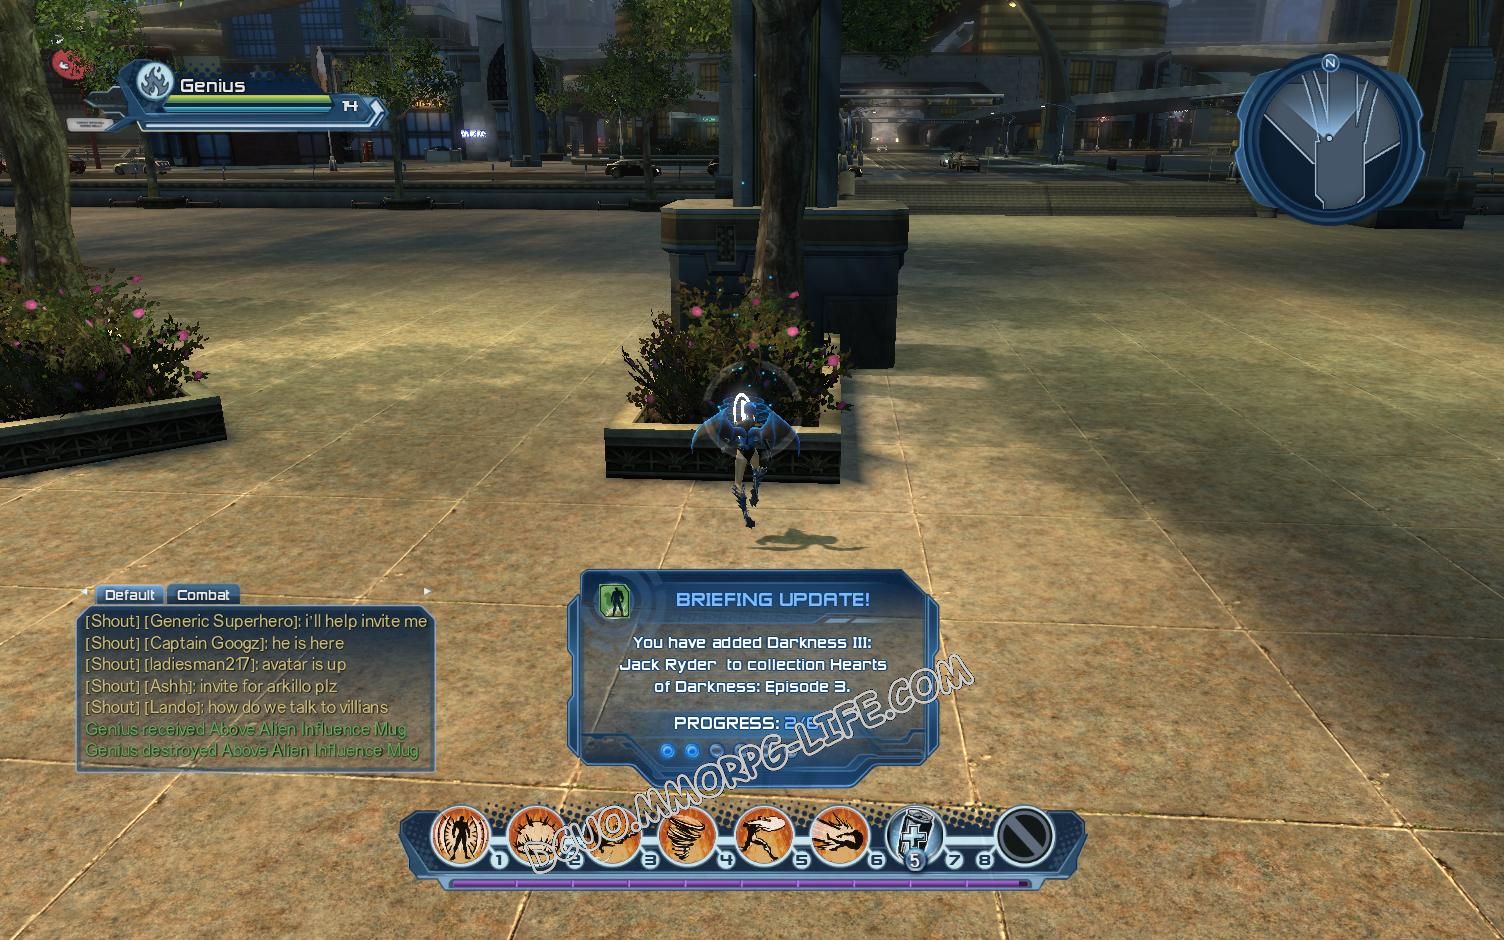
Click on the thumbnail to see the original image. - Darkness III: Jack Ryder
Click on the thumbnail to see the original image. 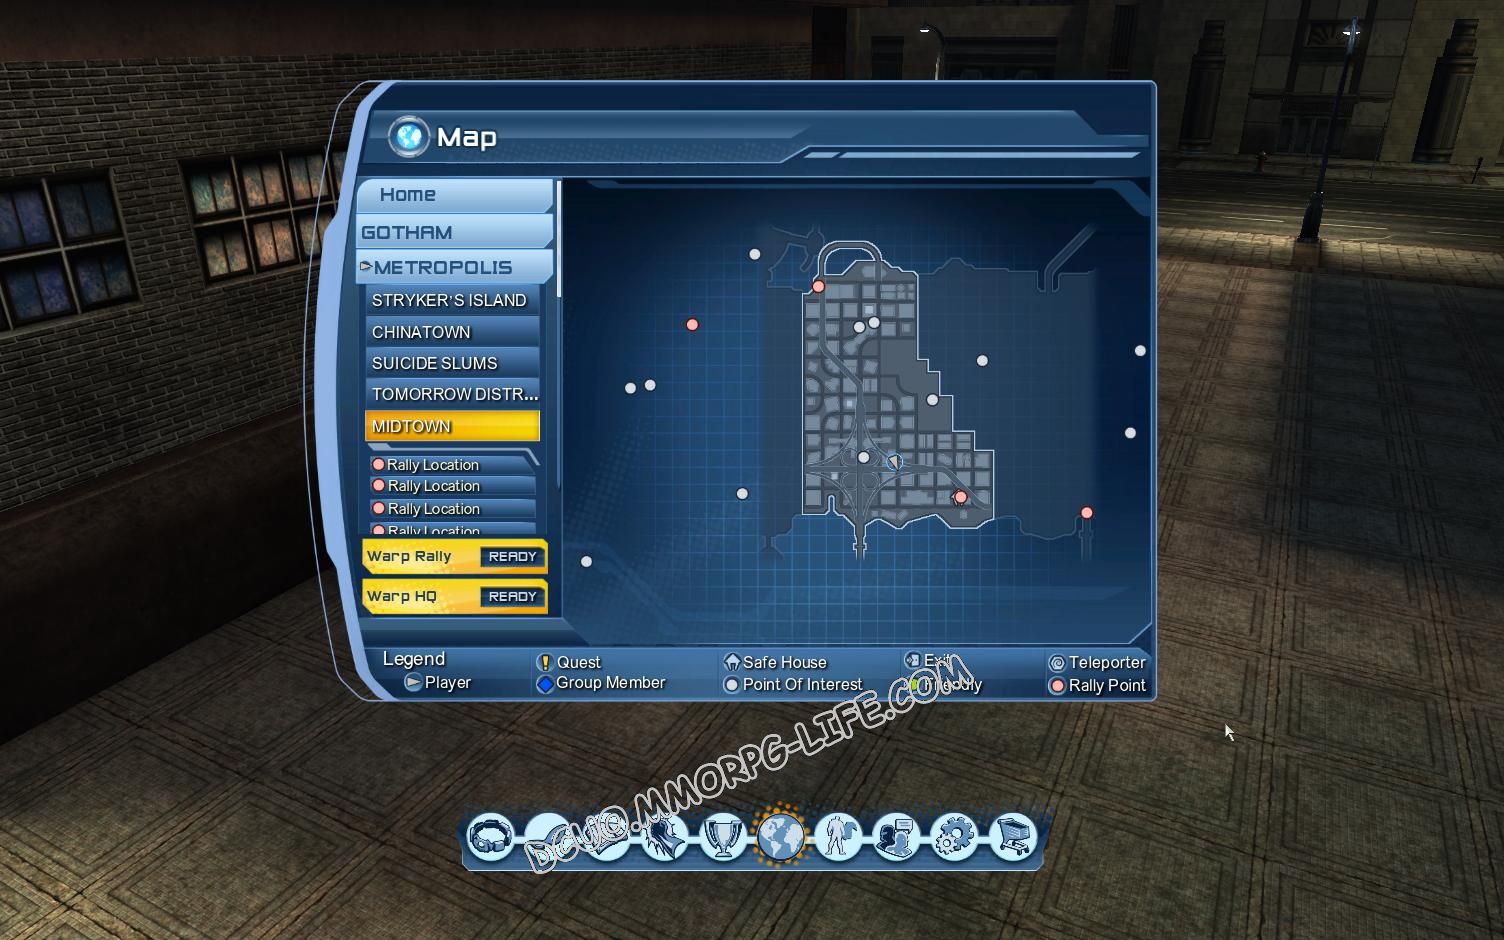
Click on the thumbnail to see the original image. 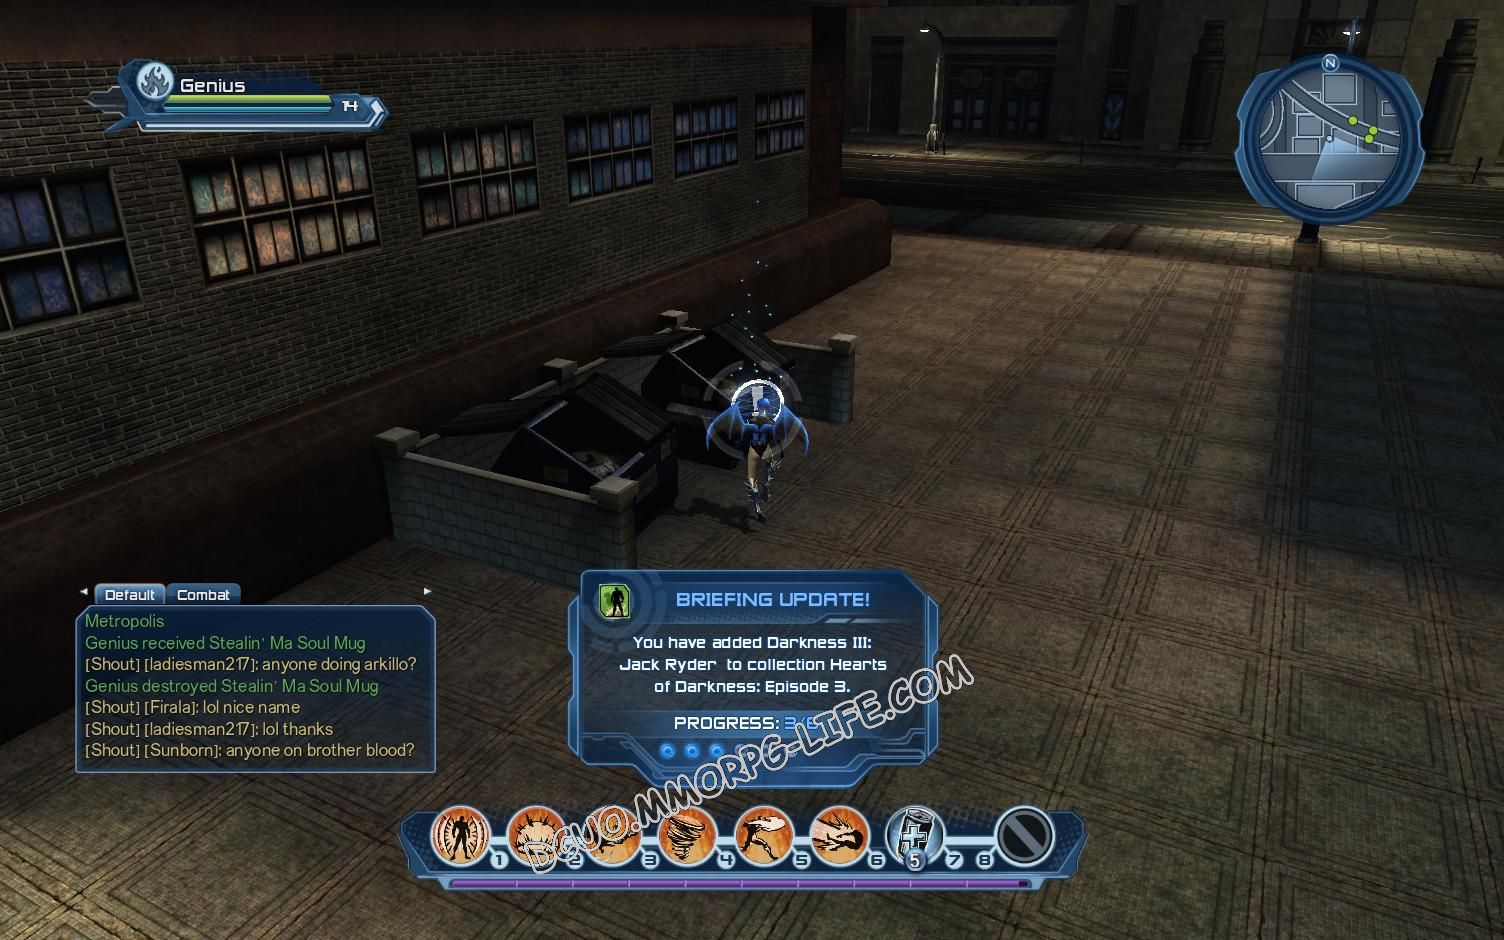
Click on the thumbnail to see the original image. - Darkness III: Circe
Click on the thumbnail to see the original image. 
Click on the thumbnail to see the original image. 
Click on the thumbnail to see the original image. - Darkness III: Lois Lane
Click on the thumbnail to see the original image. 
Click on the thumbnail to see the original image. 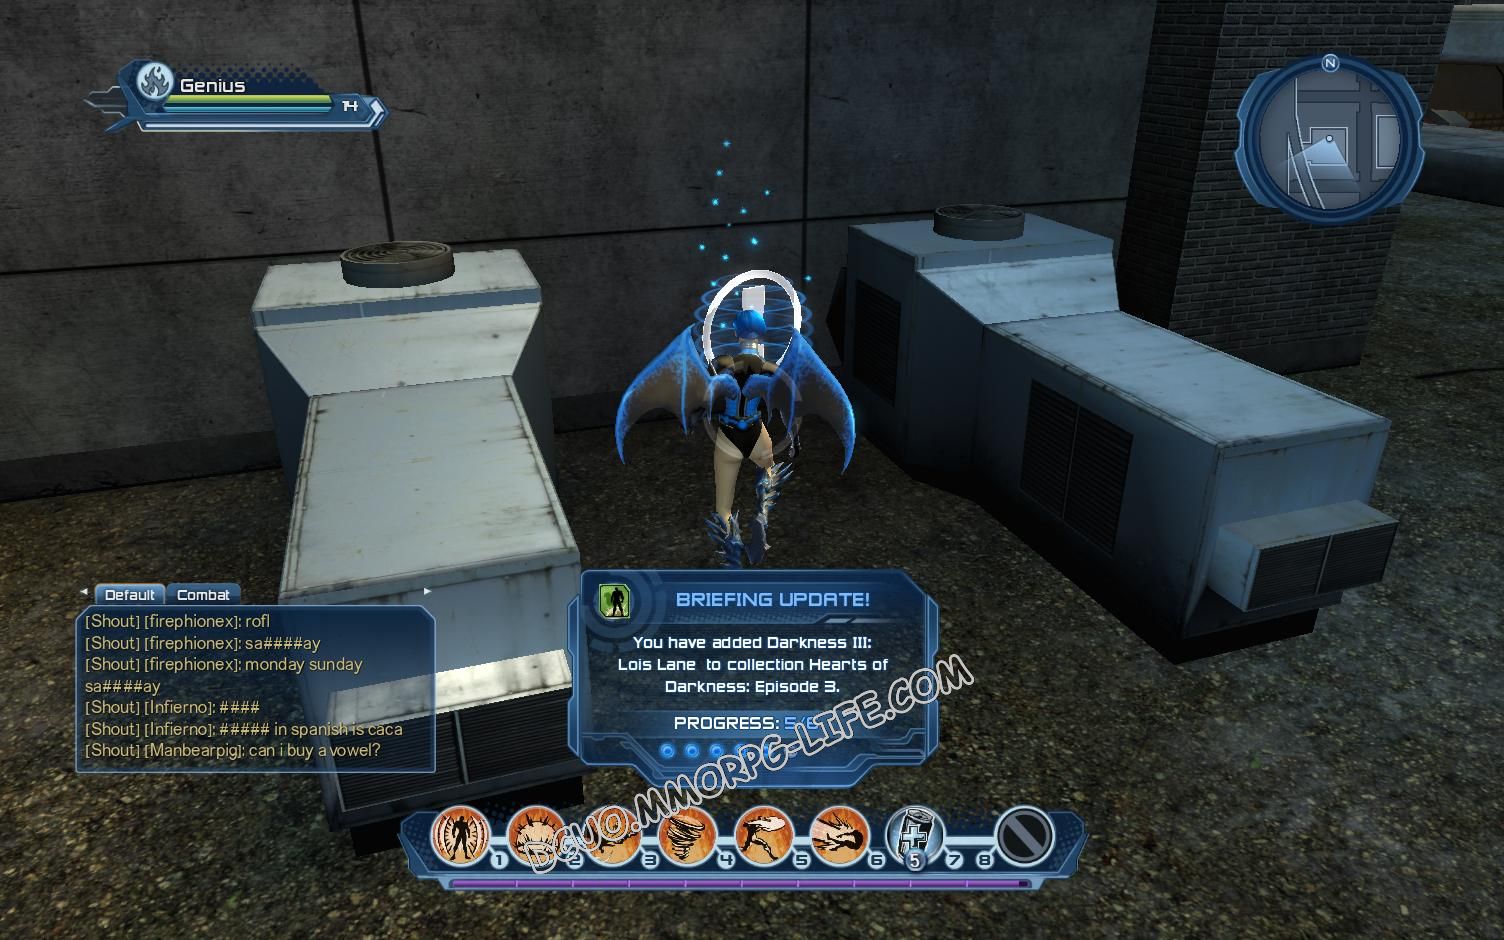
Click on the thumbnail to see the original image. - Darkness III: Wonder Woman
Click on the thumbnail to see the original image. 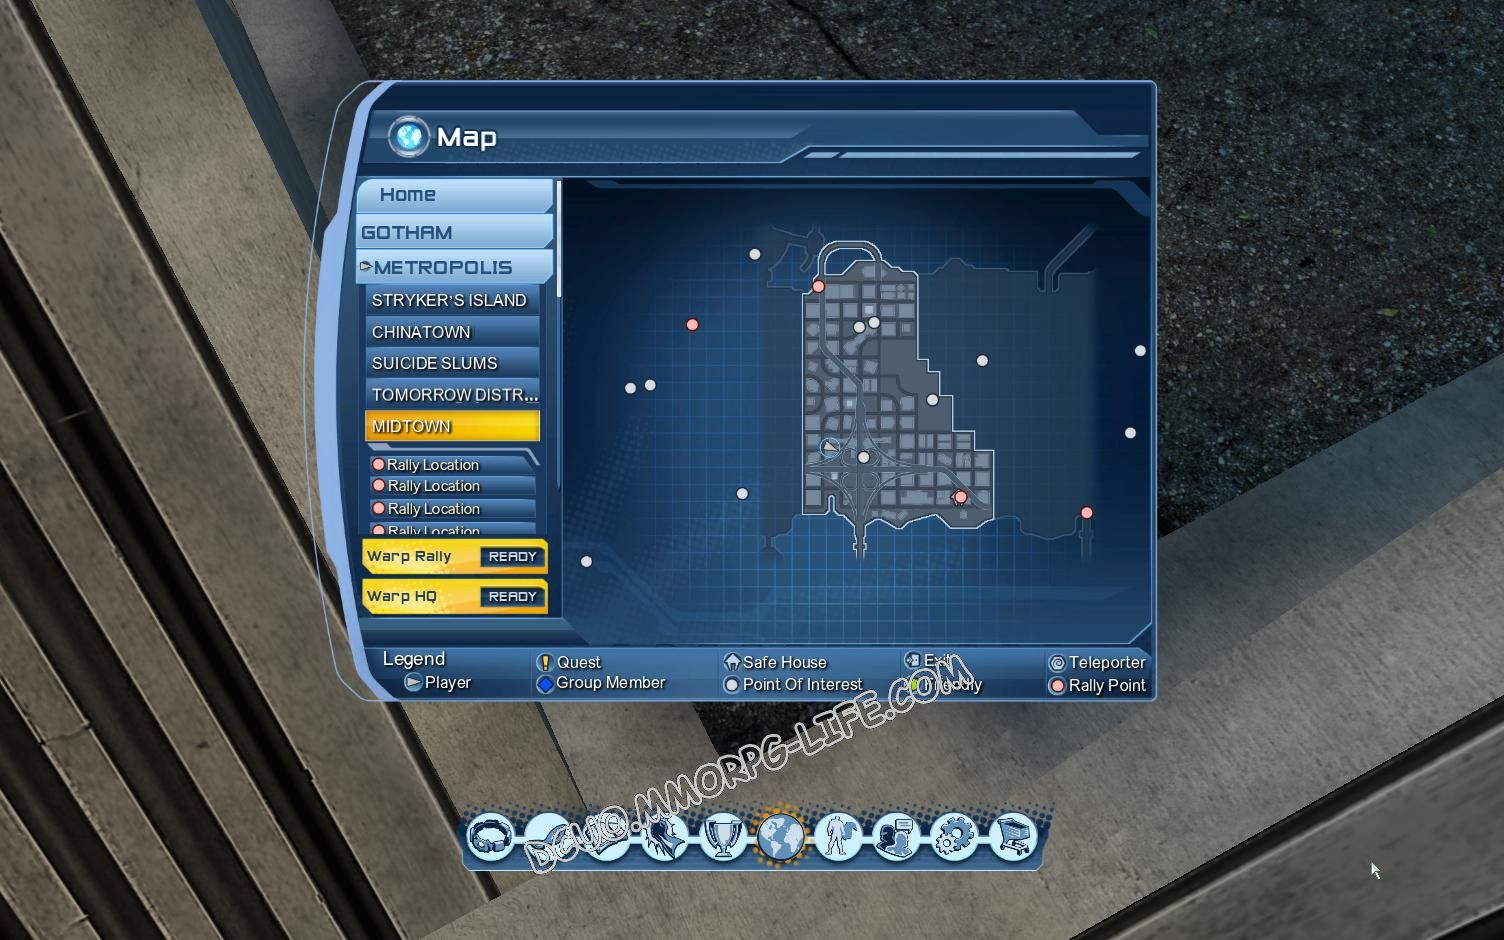
Click on the thumbnail to see the original image. 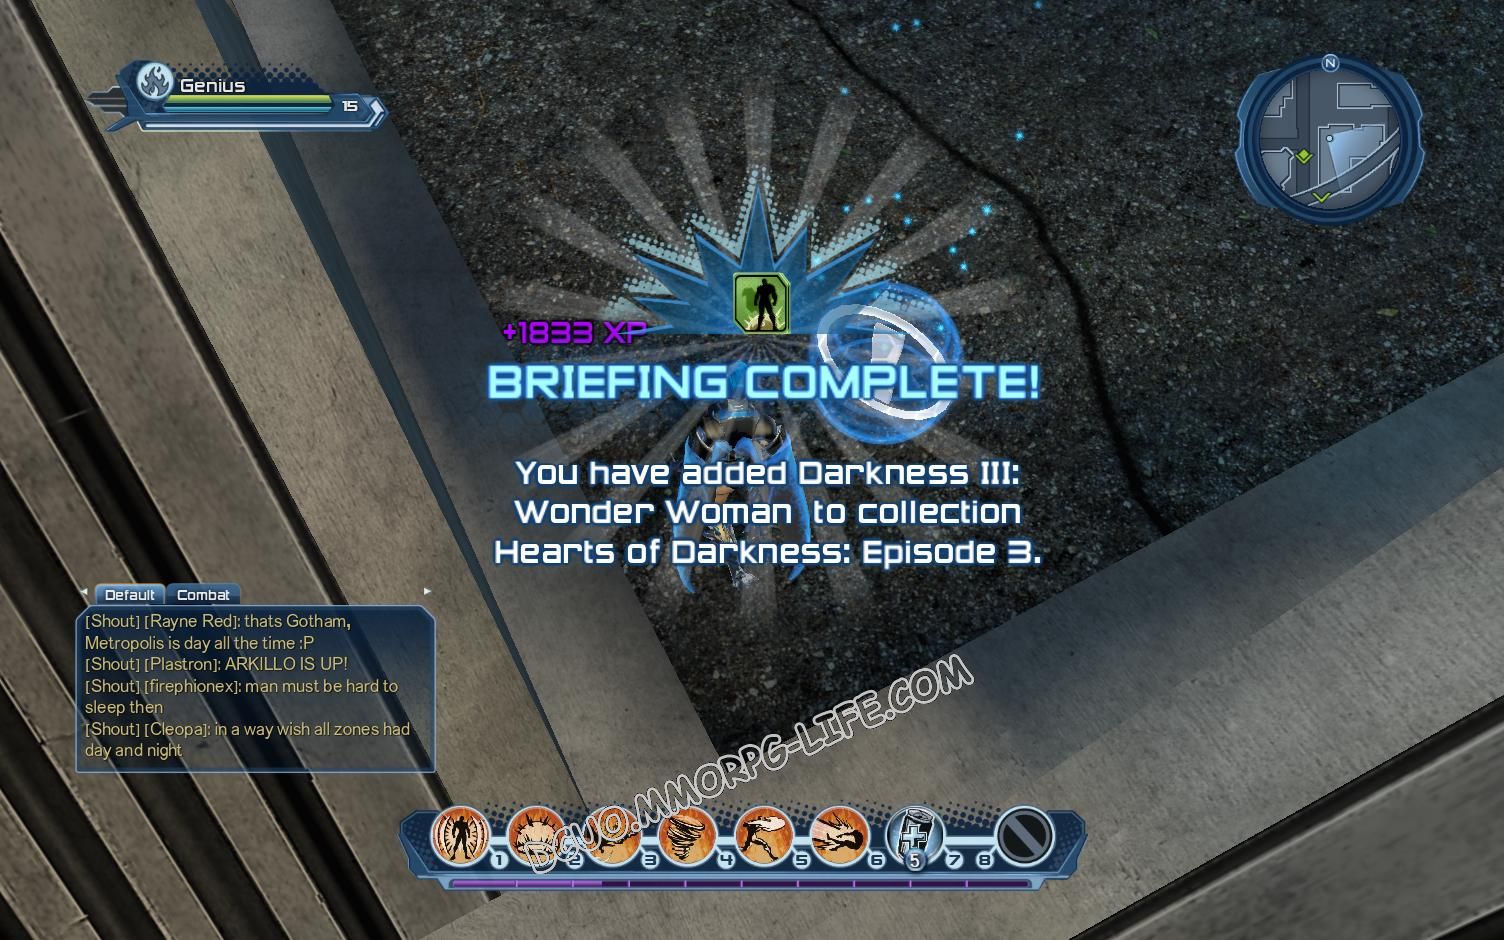
Click on the thumbnail to see the original image.
|  Type: Briefing Type: Briefing | | City: Metropolis | | Zone: Midtown |
|


The Jack Ryder’s on this are switched in order with the game’s order.
no mater witch order you get them in they give the audio bits in order